How to Identify and Repair a Roof Leak Before It Gets Worse
Reading time: 14 minutes
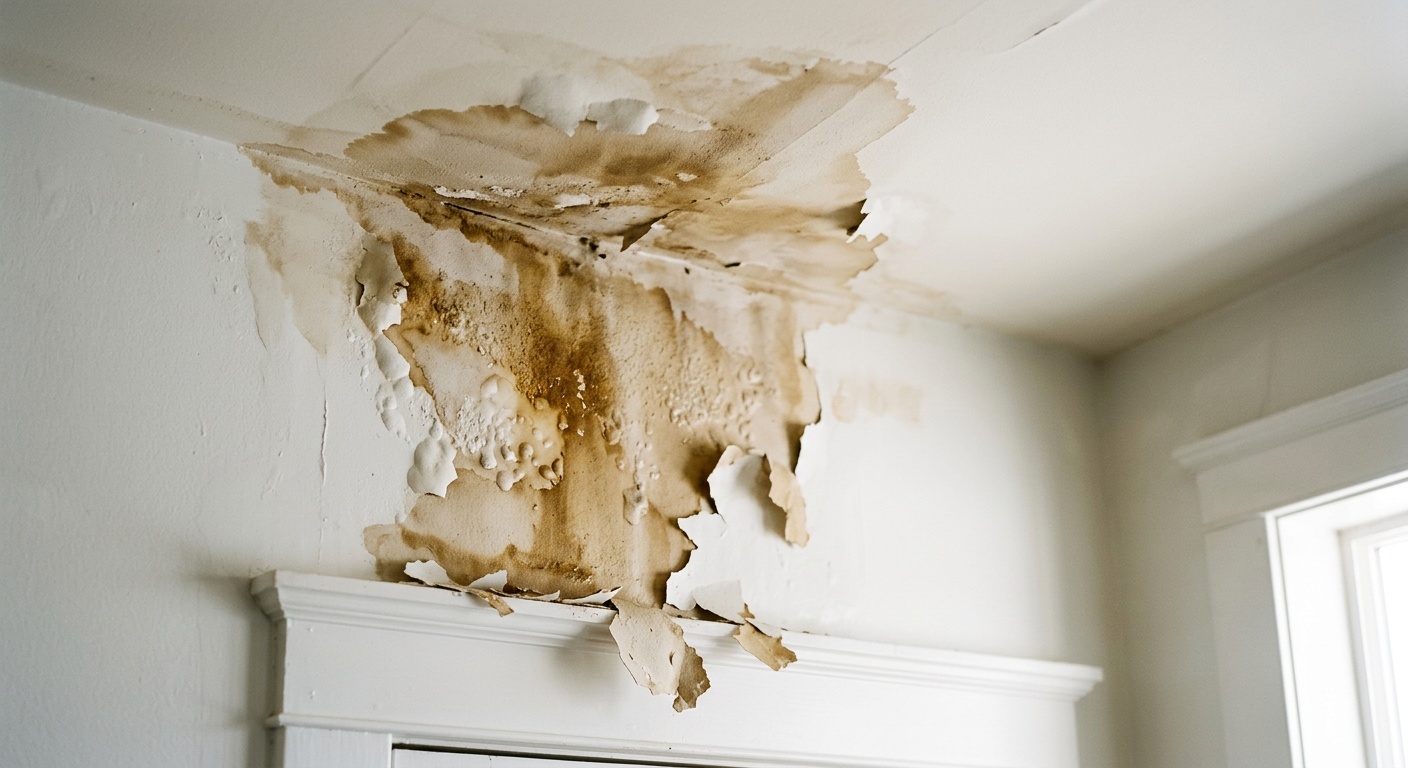
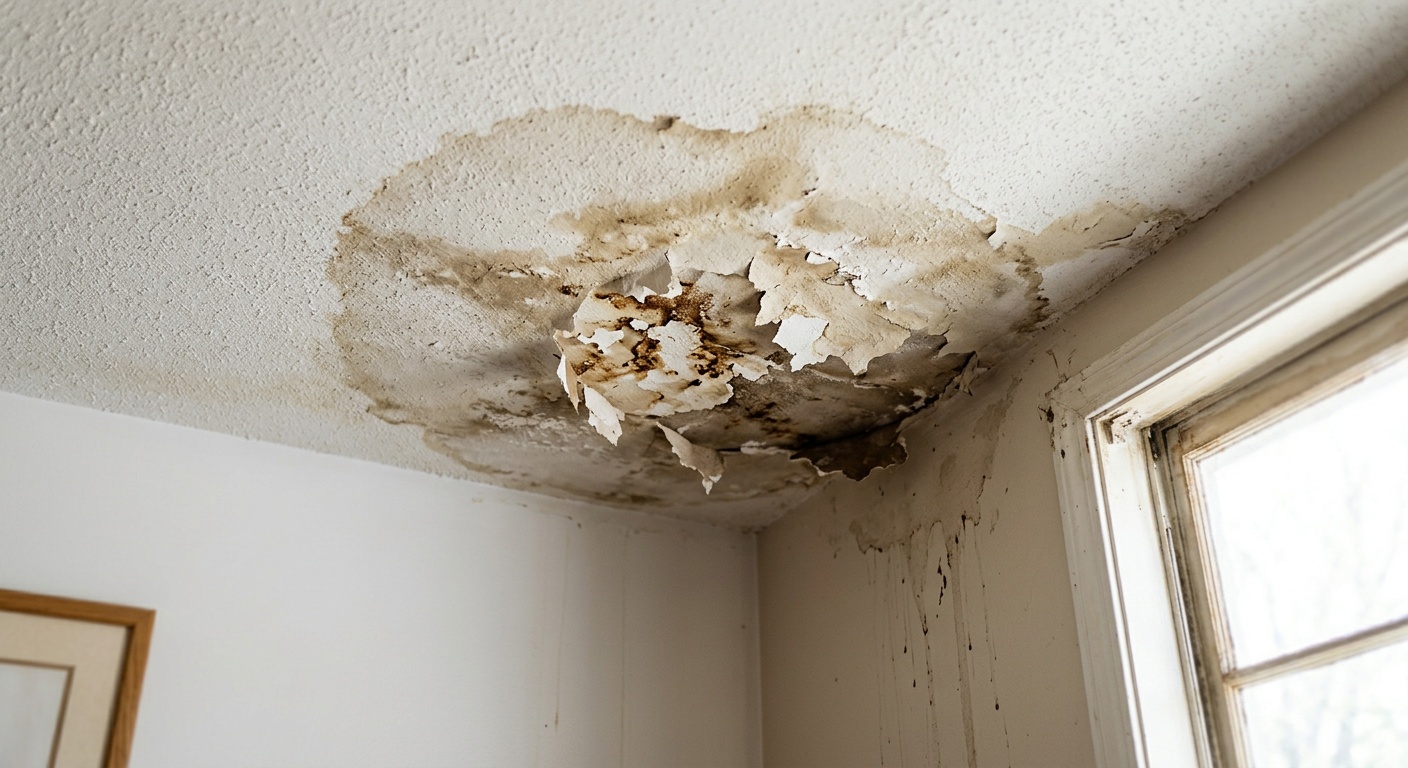
That suspicious brown stain on your ceiling. The faint dripping sound during a rainstorm. The musty smell that wasn’t there last spring. Sound familiar? You’re not imagining things — your roof is probably trying to tell you something urgent.
Here’s the uncomfortable truth: most homeowners don’t discover a roof leak until it’s already caused hundreds — sometimes thousands — of dollars in secondary damage. In 2026, the average cost of water damage restoration in the United States sits at approximately $4,200 per incident, according to the National Association of Home Builders. Yet the initial repair that could have prevented that damage? Often under $500 if caught early.
This guide is your strategic roadmap for getting ahead of roof leaks before they turn into financial nightmares. Whether you’re a first-time homeowner or someone who’s been through a few rainy seasons, this article will walk you through identification, diagnosis, and repair with the kind of clarity that actually helps.
Table of Contents
- Why Roof Leaks Are a Ticking Clock
- Warning Signs You Should Never Ignore
- How to Find the Source of a Roof Leak
- The 5 Most Common Roof Leak Culprits
- DIY Repair vs. Hiring a Professional
- Step-by-Step Repair Methods
- Prevention Strategies That Actually Work
- Frequently Asked Questions
- Your Leak-Free Home: A Practical Action Plan
Why Roof Leaks Are a Ticking Clock
Imagine this scenario: You notice a small water stain on your bedroom ceiling in March. It’s about the size of a dinner plate. Life gets busy, and you tell yourself you’ll deal with it “when the weather gets better.” By July, that stain has grown, the drywall has begun to sag, and a home inspector you hired for a refinancing application has flagged potential mold growth in the attic. What started as a $300 flashing repair has ballooned into a $6,000 remediation project.
This isn’t a hypothetical. It’s a composite of thousands of homeowner stories reported annually across North American markets. According to a 2025 survey conducted by Angi (formerly Angie’s List), 62% of homeowners who experienced significant water damage admitted they had noticed early warning signs but delayed action for at least two months.
The physics of water infiltration are deceptively cruel. Water follows the path of least resistance, which means the spot where you see damage on your ceiling may be located several feet away from where water is actually entering through the roof. This makes identification tricky — and it’s why a methodical approach matters enormously.
“A roof leak is never just a roof problem. It’s a cascading risk event. By the time you see visible moisture damage inside your home, the structural components above have likely been compromised for weeks or months.” — Dr. Rachel Connors, Building Science Engineer, University of Minnesota (2025)
Warning Signs You Should Never Ignore
Catching a leak early requires knowing what to look for — both inside and outside your home. Here’s a breakdown of the critical signals organized by location:
Interior Warning Signs
- Water stains on ceilings or walls: Yellow or brown rings are classic indicators of recurring moisture. Fresh leaks often appear as darker, wet patches.
- Peeling paint or bubbling wallpaper: Moisture trapped behind surfaces causes these cosmetic issues — but the underlying problem is structural.
- Musty or earthy odors: Mold begins growing within 24–48 hours of water infiltration. If you smell it, water damage is already present somewhere.
- Sagging or warped drywall: This is a sign of prolonged moisture saturation. Act immediately — drywall that sags can collapse.
- Unexpected spikes in energy bills: Wet insulation loses its R-value rapidly. If your heating or cooling costs have jumped without explanation in 2026, your roof might be the reason.
- Daylight visible in the attic: Any light penetrating through the roof deck is an active entry point for water.
Exterior Warning Signs
- Missing, cracked, or curling shingles: Asphalt shingles typically last 20–30 years, but UV exposure and severe weather accelerate degradation.
- Damaged or rusted flashing: Metal flashing around chimneys, skylights, and vents is a primary failure point.
- Granules in gutters: Excessive shingle granule loss signals end-of-life roofing material.
- Moss or algae growth: These organisms retain moisture against the roof surface, accelerating deterioration.
- Sagging roof deck: Visible dips or waves in the roofline suggest structural damage beneath the surface.
How to Find the Source of a Roof Leak
Here’s where most DIY leak investigations go wrong: people look directly above the water stain and assume that’s where the leak is. In reality, water travels along rafters, insulation batts, and vapor barriers before dripping down to a visible point. The entry point could be several feet — or even an entire roof section — away.
The Attic Investigation Method
On a dry, bright day, head into your attic with a high-powered flashlight and your smartphone camera. Here’s your systematic approach:
- Mark the interior stain location from below using a piece of tape or chalk, and measure its distance from two fixed walls to create reference coordinates.
- Transfer those coordinates to the attic floor. You’re looking for the area directly above the stain.
- Look for water trails on rafters. Water stains on wood members leave gray or dark streaking that traces the leak’s path upward.
- Check insulation for wet or compressed sections. Saturated insulation will be darker, heavier, and may have a faint mold odor.
- Look for daylight penetration. Turn off your flashlight in daylight conditions — any pinpoints of light indicate breach points.
If you can’t find the source visually, try the garden hose test: Have a second person inside the attic with a flashlight while you methodically soak different roof sections with a garden hose, starting at the lowest point of the roof and working upward. Your partner calls out when they spot moisture. This process can take 30–45 minutes per section but is remarkably effective.
The 5 Most Common Roof Leak Culprits
Understanding where leaks originate helps you prioritize your inspection and repair efforts. In 2026, roofing contractors across the U.S. and Canada consistently report these five areas as the primary sources of residential roof leaks:
1. Damaged or Deteriorated Flashing
Flashing is the thin metal (usually galvanized steel or aluminum) installed at roof joints, around chimneys, skylights, vents, and valleys. It’s designed to direct water away from vulnerable transition points. Over time, flashing corrodes, separates from sealants, or gets physically damaged by debris. Approximately 35% of all residential roof leaks in North America originate from flashing failures, making it the single most common cause.
2. Missing, Cracked, or Broken Shingles
Physical damage from hail, wind, falling branches, or simple age causes shingles to crack, cup, or go missing entirely. Each compromised shingle is a direct pathway for water infiltration. Following the severe storm seasons of 2024 and 2025, many homeowners are discovering shingle damage they never investigated post-storm.
3. Clogged or Damaged Gutters
Gutters aren’t technically part of the roof surface, but they’re deeply connected to roof health. When gutters overflow due to debris blockage, water backs up under roofing materials, particularly at the fascia board level. In winter climates, this creates ice dams — frozen blockages that force melt water back under shingles.
4. Skylight Seal Failure
Skylights are beautiful — and notoriously prone to leaking. The seal between the glass unit and the flashing surrounding it degrades with UV exposure and thermal cycling. Even brand-new skylights can develop condensation leaks if improperly installed. This is especially common in homes built during the 2010s construction boom when skylight installation quality varied widely.
5. Cracked Roof Vents and Pipe Boots
Every pipe and vent penetrating your roof is wrapped in a rubber or neoprene “boot” collar that creates a waterproof seal. These boots have a lifespan of roughly 10–15 years before UV degradation causes cracking. A cracked boot around a plumbing vent stack is one of the most frequently missed leak sources during amateur inspections.
Comparative Leak Source Analysis
| Leak Source | Frequency | Avg. Repair Cost (2026) | DIY Feasibility | Urgency Level |
|---|---|---|---|---|
| Flashing Damage | 35% | $300–$1,500 | Moderate | ⚠️ High |
| Broken Shingles | 28% | $150–$600 | High | ⚠️ High |
| Clogged Gutters | 18% | $100–$400 | Very High | Medium |
| Skylight Seal Failure | 12% | $400–$2,000 | Low | ⚠️ High |
| Cracked Pipe Boots | 7% | $75–$250 | High | Medium |
Leak Source Frequency Visualization
Most Common Roof Leak Sources (2026 Data)
DIY Repair vs. Hiring a Professional
This is one of the most important — and honestly most misunderstood — decisions in home maintenance. The answer isn’t simply “always hire a pro” or “always DIY.” It depends on several practical factors.
When DIY Makes Sense
You can reasonably tackle a roof repair yourself if:
- Your roof has a low pitch (under 4:12 slope) and you’re comfortable with heights
- The damage is localized and clearly visible — a cracked pipe boot, a few missing shingles, or a simple gutter blockage
- You have basic tool competency (caulking gun, roofing nails, pry bar) and proper safety equipment
- The repair involves less than 10 square feet of shingle replacement
A compelling real-world example: In 2025, homeowner Marcus T. in Austin, Texas, identified a cracked neoprene boot around a plumbing vent as the source of a leak that had been causing ceiling damage for months. He purchased a universal pipe boot replacement kit for $28, spent two hours on a Saturday morning making the repair, and stopped a leak that a contractor had quoted at $380. The confidence to attempt it came from a thorough self-education process — exactly what this article aims to give you.
When You Should Call a Professional
Don’t let frugality override safety and structural integrity. Call a licensed roofing contractor when:
- The roof pitch is steep (6:12 or greater) — falls from roofs are among the most common serious home improvement injuries
- The damage spans more than one roof section or multiple shingle fields
- You suspect structural deck damage (soft spots when walking on the roof, visible sagging)
- The home is more than 20 years old and has never had a professional inspection
- An active mold situation has been identified in the attic
- Your insurance claim requires a professional assessment
“In 2026, roofing labor costs have increased by roughly 18% compared to 2023 levels due to ongoing skilled trades shortages. That said, a properly done professional repair still costs a fraction of what deferred maintenance ends up costing.” — Tom Burkholder, National Roofing Contractors Association (NRCA), 2026
Step-by-Step Repair Methods
Replacing Damaged Shingles
This is the most common DIY roofing repair and is manageable for most homeowners with a low-to-moderate pitch roof. Here’s your practical process:
- Gather materials: Replacement shingles (match type and color as closely as possible), roofing nails, a pry bar, roofing cement, a hammer, and a utility knife.
- Lift the edges of the surrounding shingles using the pry bar. Locate and remove the nails holding the damaged shingle in place — typically four nails per shingle.
- Slide out the old shingle and slide the new one into position, aligning it with the surrounding course.
- Nail the new shingle using four roofing nails placed 1 inch from each side, 1 inch above the bottom of the tab slots.
- Apply roofing cement under the edges of neighboring shingles to re-seal the lifted areas.
- Press all lifted shingles flat and apply small dabs of roofing cement under any edges that won’t lay flat due to cold temperature stiffness.
Re-Sealing or Replacing Flashing
Flashing repair is slightly more complex but still within DIY reach for minor separations:
- Clean the area thoroughly: Remove old caulk, dirt, and debris from the flashing joint using a stiff brush and mineral spirits.
- Apply roofing caulk or polyurethane sealant (not standard silicone) into any gaps between the flashing and the adjacent surfaces. In 2026, rubberized flashing sealants from brands like Henry or GE are highly rated for longevity.
- Press the flashing firmly against the surface and smooth the sealant with a gloved finger for a watertight bead.
- For severely corroded or physically separated flashing, replacement is necessary. This involves removing the overlying shingles, prying out the old flashing, and installing new step flashing or chimney flashing following manufacturer specifications.
Fixing a Cracked Pipe Boot
This is one of the easiest and most satisfying DIY roof repairs:
- Purchase a universal pipe boot replacement — these sleeve over the existing pipe and require no shingle removal in most cases.
- Loosen any shingles immediately surrounding the boot base.
- Slide the new boot collar down over the pipe and position its base under the surrounding shingles.
- Secure the boot base with roofing nails and apply roofing cement around the perimeter seal.
- Re-lay surrounding shingles and re-seal all lifted edges.
Prevention Strategies That Actually Work
The best repair is the one you never have to make. Here’s a prioritized prevention framework that addresses both immediate maintenance habits and long-term investment decisions:
Your Annual Roof Maintenance Calendar
Spring (March–April):
- Conduct a full post-winter visual inspection from the ground using binoculars
- Clear all debris from gutters and check downspout drainage
- Inspect attic ventilation to prevent moisture buildup during warm months
Summer (June–July):
- Schedule a professional inspection if the roof is 10+ years old — summer is the best season for thorough on-roof assessments
- Trim any tree branches that overhang the roofline within 6 feet
- Treat any moss or algae growth with a zinc sulfate solution (never pressure wash roofing materials)
Fall (September–October):
- Clean gutters a second time after leaf fall
- Inspect flashing and sealants before freeze-thaw cycles begin
- Check that all attic insulation is properly placed and not blocking soffit vents
Winter (December–January):
- Monitor for ice dam formation after heavy snowfall
- Use a roof rake (never a metal shovel) to remove snow from low-slope sections if accumulation exceeds 12 inches
- Document any interior staining that appears after storms for insurance purposes
A case study worth noting: The Henderson family in Minneapolis, Minnesota implemented a consistent biannual gutter cleaning schedule in 2023 after experiencing significant ice dam damage that winter. Between 2023 and 2026, they have had zero water infiltration events — compared to two incidents in the three years prior. Simple, consistent maintenance made the difference.
Frequently Asked Questions
How do I know if my roof leak is covered by homeowners insurance?
Generally, homeowners insurance covers sudden and accidental water damage — for example, damage caused by a storm, hail, or a fallen tree. It does not typically cover leaks resulting from gradual deterioration, lack of maintenance, or normal wear and tear. In 2026, many insurers also require documentation that the homeowner acted promptly upon discovering the damage. If you have a storm-related leak, photograph the damage immediately, avoid making permanent repairs before the adjuster visits, and file your claim within 24–72 hours of the incident. Review your specific policy’s water damage exclusions carefully, as they vary significantly between providers.
Can I use roofing tape or spray sealant as a permanent fix?
The honest answer: no, not really. Products like butyl roofing tape and elastomeric spray coatings are excellent emergency and temporary solutions — they can buy you days or weeks while you arrange for proper repairs, and they’re genuinely useful. However, they are not engineered to withstand years of UV exposure, thermal cycling, and physical weathering the way properly installed shingles and flashing are. Using them as a “set it and forget it” solution almost always leads to the original problem recurring — often with added complexity because the tape or coating masks the damage from visual inspection. Use them as a bridge, not a destination.
How much does a professional roof inspection cost in 2026, and is it worth it?
In 2026, a professional roof inspection from a licensed contractor typically costs between $175 and $350 depending on roof size, complexity, and regional market. Some contractors offer free inspections, though be cautious about objectivity in those cases. Is it worth it? Absolutely — especially for roofs over 10 years old, after any significant weather event, or when you’re buying or selling a home. A thorough inspection provides a documented condition report that can be invaluable for insurance claims, resale negotiations, and prioritizing maintenance spending. Think of it as a $200–$350 investment that protects a $15,000–$30,000 asset (the typical full roof replacement cost in 2026).
Your Leak-Free Home: A Practical Action Plan
You now have a working knowledge that puts you ahead of the vast majority of homeowners. But information without action is just trivia. Here’s your immediate roadmap:
- This week: Do a ground-level exterior inspection with binoculars. Look specifically at flashing, ridge lines, and any areas where different roof planes meet. Take photos.
- This month: Spend 20 minutes in your attic with a flashlight looking for water stains, daylight, or compressed insulation. Address any gutter blockages you find.
- This season: If your roof is 10+ years old or you spotted anything concerning, schedule a professional inspection. Budget accordingly.
- This year: Start a simple home maintenance log where you document roof inspections, repairs, and weather events. This documentation is gold for insurance purposes and future resale negotiations.
- Ongoing: Commit to biannual gutter cleaning and a seasonal visual check. Make it as habitual as changing smoke detector batteries.
In an era where climate volatility is increasing storm frequency and intensity across North America — 2025 saw above-average severe weather events across 34 U.S. states — proactive roof maintenance has never been more critical or more financially justifiable. The homeowners who navigate 2026 and beyond with the least stress and expense are the ones who treat roof care as an ongoing discipline rather than a crisis response.
Here’s the question worth sitting with: What would it cost you — financially, emotionally, and practically — if your roof failed during the next major storm season? The answer to that question is the best argument for starting your inspection this weekend.
Your home is likely your largest single asset. Protect it with the same strategic attention you’d give any other significant investment — because that’s exactly what it is.