Roof Maintenance Checklist Every Homeowner Should Follow Annually
Reading time: 14 minutes
Ever stared up at your ceiling during a rainstorm, watching a water stain slowly expand, and thought: “I really should have gotten that roof checked”? You’re not alone. Millions of homeowners across the U.S. face preventable roofing disasters every year — not because they don’t care, but because they simply don’t know what to look for or when to look for it.
Here’s the straight talk: your roof is the single most protective barrier your home has. It takes a beating from UV rays, ice, wind, debris, and wildlife — 365 days a year. Yet most homeowners won’t touch it until something catastrophically fails. According to the National Roofing Contractors Association (NRCA), in 2025, over 70% of homeowners admitted they had never performed a formal roof inspection. The average cost of a roof repair that could have been caught early? Around $900 to $2,500. A full replacement in 2026? You’re looking at $9,000 to $22,000 depending on material and square footage.
This guide is your practical, no-nonsense annual roof maintenance checklist — built for real homeowners, not roofing contractors. Whether your home sits in the humid Southeast or the freeze-thaw cycles of the Midwest, this roadmap will help you catch problems early, extend your roof’s lifespan, and protect your most significant investment.
Table of Contents
- Why Annual Roof Maintenance Actually Matters
- When to Inspect: Timing Your Annual Checkup
- The Exterior Roof Inspection Checklist
- The Interior Inspection Checklist
- Gutters, Drainage & Water Management
- Climate-Specific Considerations
- Professional vs. DIY: What You Can Handle
- Cost Comparison: Maintenance vs. Neglect
- Frequently Asked Questions
- Your Roof Protection Roadmap: Next Steps
Why Annual Roof Maintenance Actually Matters
Think of your roof like your car. You wouldn’t drive 80,000 miles without an oil change and expect the engine to perform flawlessly. The same logic applies here. A well-maintained asphalt shingle roof can last 25 to 30 years. A neglected one? Often less than 15.
In 2026, the compounding effects of climate volatility are making proactive maintenance even more critical. According to data from CoreLogic’s 2025 Climate Risk Report, extreme weather events — including hail storms, high-wind events, and heavy precipitation — increased by approximately 18% over the past five years in North America. Your roof is absorbing that impact whether you’re paying attention or not.
Consider the story of a homeowner in Nashville, Tennessee. In early 2024, after two consecutive harsh winters, she noticed her energy bills creeping up but dismissed it. By mid-2025, water had silently infiltrated her attic insulation, causing mold growth that required remediation costing over $14,000 — all because three cracked flashing sections went unnoticed. An annual inspection costing roughly $200 to $400 could have flagged those issues two seasons earlier.
“The most expensive roof repair is always the one you didn’t catch in time. Annual inspections aren’t a luxury — they’re mandatory stewardship of your property.” — Tom Silva, Master Contractor, This Old House
Annual maintenance also protects your homeowner’s insurance standing. Many insurers in 2026 are tightening their underwriting criteria, and documented proof of regular maintenance can mean the difference between a claim being honored and being denied due to “lack of upkeep.”
When to Inspect: Timing Your Annual Checkup
Timing matters more than most homeowners realize. The two optimal windows for a thorough roof inspection are late spring (May–June) and early fall (September–October). Here’s why:
- Spring inspections reveal damage accumulated from winter ice, snow loads, and freeze-thaw cycles. This is your opportunity to address anything before summer heat bakes it in further.
- Fall inspections prepare your roof for the most demanding season. You can clear debris, seal gaps, and check insulation before temperatures drop.
If your region experienced a significant weather event — a hailstorm, a hurricane, heavy snow accumulation, or sustained high winds — schedule an inspection within 30 days of the event, regardless of your annual cycle.
Quick Pro Tip: Set a recurring calendar reminder every April and September. Pair it with your HVAC filter change so it becomes a seasonal home care ritual rather than an afterthought.
The Exterior Roof Inspection Checklist
Safety first: you do not need to climb on your roof to complete most exterior checks. A quality pair of binoculars, a stable ladder to check eaves, and a smartphone with a good camera (for zoomed-in photos) will handle the majority of visual assessment from ground level or the ladder’s top rungs.
Shingles and Surface Materials
Your shingles are the roof’s first line of defense. Here’s what to look for during your annual walk-around:
- Missing shingles: Gaps in coverage expose underlayment and decking to moisture almost immediately.
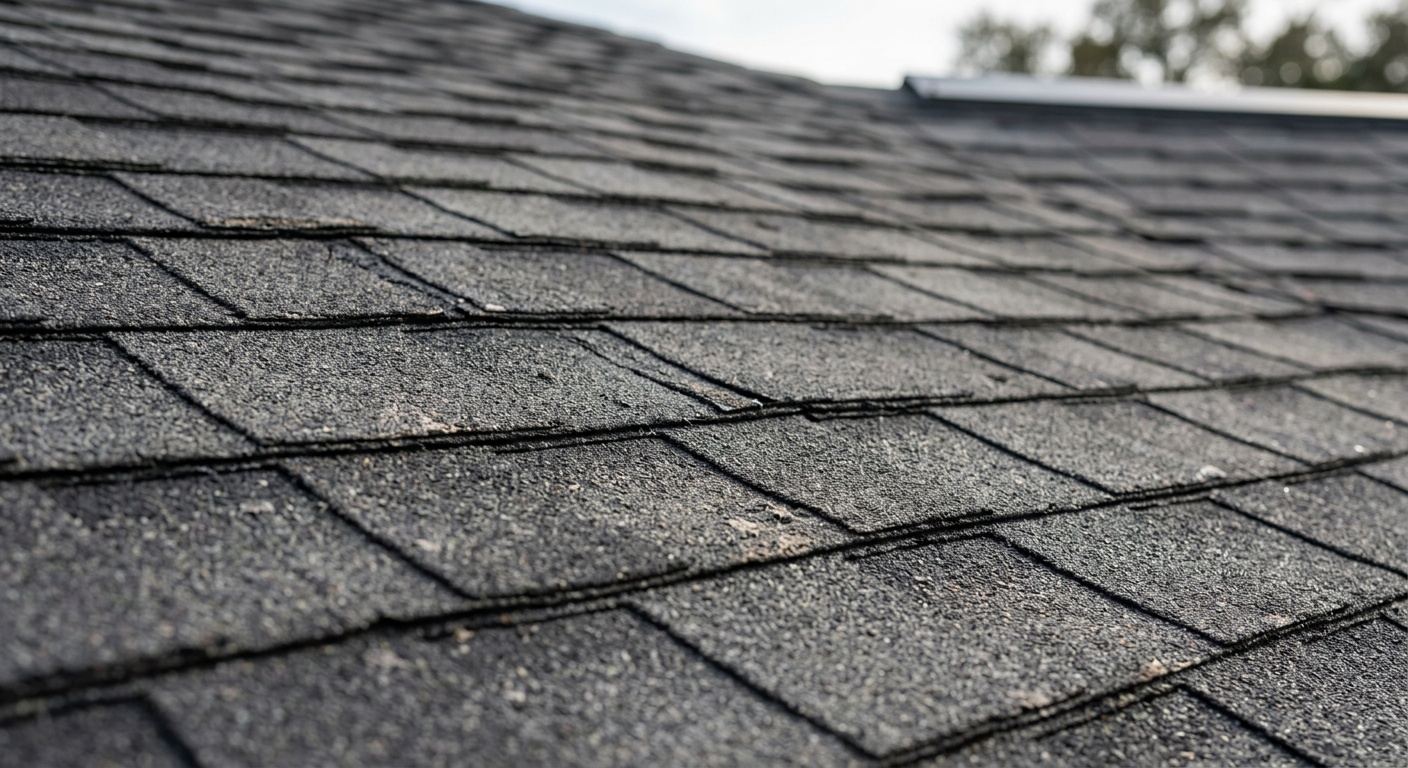
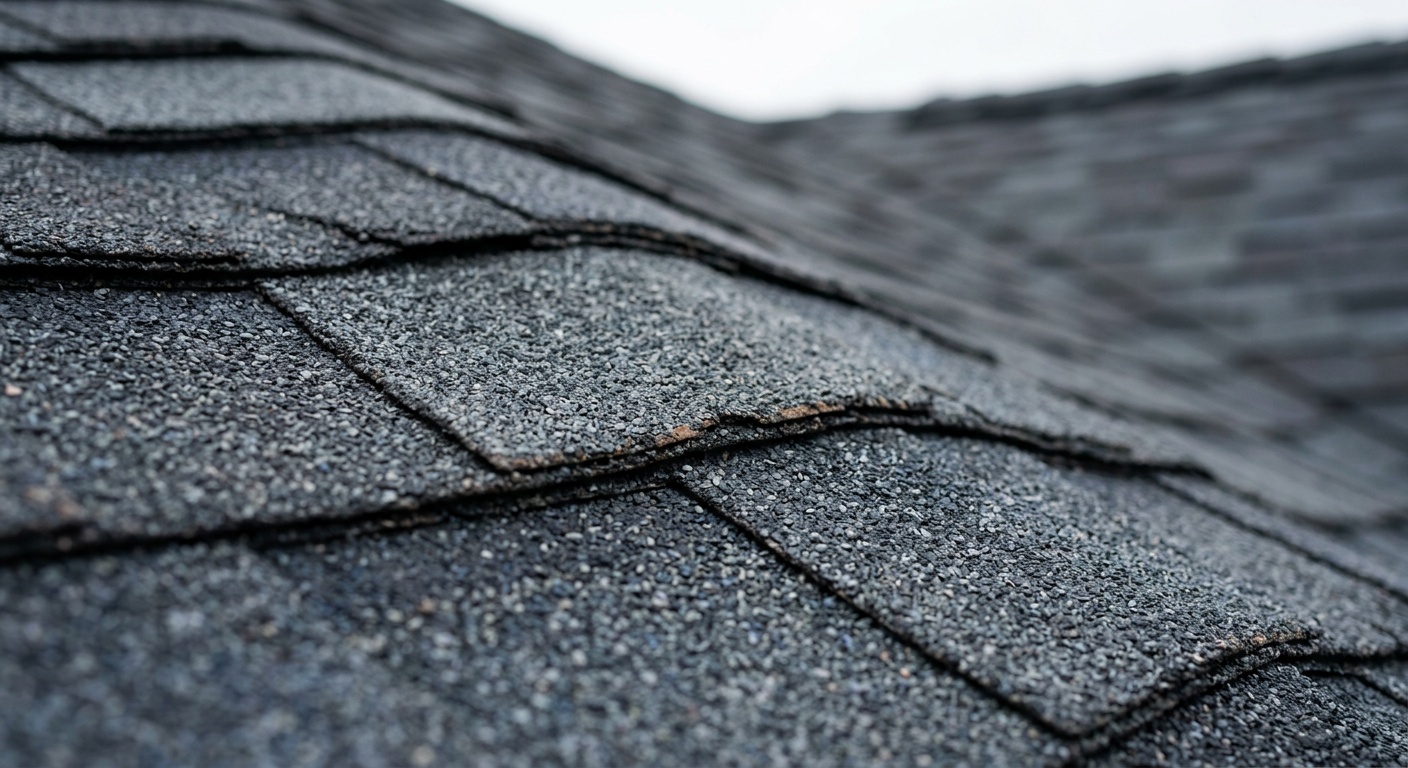
- Curling or cupping: Shingle edges that curl upward (cupping) or tips that curl downward (clawing) indicate age-related deterioration or moisture imbalance in the attic.
- Granule loss: Check your gutters and downspout outlets for excessive granule accumulation. Significant granule loss means your shingles are approaching end-of-life. New asphalt shingles will show minimal granule shedding; aging ones shed heavily.
- Cracking or blistering: Thermal cracking from extreme temperature swings, or blistering from trapped moisture or poor ventilation, are red flags.
- Dark streaks or algae growth: Black streaks are typically caused by Gloeocapsa magma, a blue-green algae. It’s cosmetic at first but can degrade shingles over time if untreated.
- Moss or lichen: These organisms actively lift shingles and retain moisture against the surface. In 2026, zinc or copper strip treatments remain the most effective preventive measure.
Flashing, Seals, and Penetrations
This is where most roof leaks actually originate — not from the shingles themselves, but from the transition points. Flashing is the metal (usually aluminum or galvanized steel) used to waterproof joints around chimneys, skylights, vents, pipes, and valleys.
- Chimney flashing: Check for separated seams, rust stains, or gaps where the flashing meets the chimney masonry. Counter-flashing should be embedded into the mortar joint, not just surface-caulked.
- Pipe boots and vents: Rubber pipe boot collars degrade under UV exposure. In 2026, neoprene boots typically last 10–15 years. If they’re cracked or pulled away from the pipe, they need immediate replacement.
- Skylight seals: Check the perimeter for dried or cracked sealant. Skylights are notorious entry points for water infiltration.
- Valley flashing: Where two roof planes meet, water flows with the highest volume. Ensure valley flashing is intact, properly lapped, and free of debris accumulation.
- Step flashing along dormers and walls: Each individual step flashing piece should overlap the one below it. Gaps or lifted pieces must be re-secured with roofing cement or replaced.
Case Study — Pacific Northwest Homeowner, 2025: A homeowner in Portland, Oregon performed his first-ever formal annual inspection in spring 2025 using this exact flashing checklist. He discovered that the rubber boot around a plumbing vent stack had completely deteriorated and pulled away. The repair cost him $85 in materials and two hours of time. His neighbor, who didn’t inspect, discovered the same issue the following winter — after water had soaked through three layers of decking. That repair cost $3,200.
The Interior Inspection Checklist
Your attic tells the roof’s story better than the exterior sometimes. A thorough interior check requires a flashlight, a respirator mask (for insulation protection), and careful footing on attic joists.
Attic and Ceiling Warning Signs
- Water stains or dark spots: Look at the underside of the roof decking and along the rafters. Staining indicates either a current or past leak. Don’t assume a dry stain means the problem resolved itself.
- Daylight penetration: On a bright day, turn off your flashlight momentarily. Any pinpoints of light coming through the decking indicate holes that need immediate sealing.
- Sagging decking: Soft or spongy spots when you press on the decking mean moisture damage or rot has compromised structural integrity. This requires professional evaluation.
- Mold or mildew: Fuzzy growth on rafters, decking, or insulation indicates moisture is consistently present. Root-cause diagnosis is essential — it could be a roof leak, inadequate ventilation, or both.
- Frost or ice formation (winter check): Ice crystals forming on the underside of the roof deck in winter indicate warm, humid air escaping from the living space — a ventilation and air-sealing problem.
Ventilation Assessment
Proper attic ventilation is one of the most overlooked components of roof health. Poor ventilation causes heat buildup in summer (which accelerates shingle degradation and can void manufacturer warranties) and moisture accumulation in winter (which leads to ice dams and mold).
- Verify that soffit vents are not blocked by insulation. This is the single most common ventilation mistake.
- Check that ridge vents or box vents are unobstructed from the interior.
- The general guideline is 1 square foot of net free ventilation per 150 square feet of attic floor area, per the 2026 International Residential Code (IRC).
- If your attic feels excessively hot during a summer day (more than 10–15°F above outdoor temperature at peak hours), it’s under-ventilated.
Gutters, Drainage & Water Management
Your gutters are technically not part of the roof structure, but they’re mission-critical to roof performance. Clogged or damaged gutters cause water to back up under shingles, rot fascia boards, and create the conditions for ice dams in cold climates.
Annual gutter maintenance tasks:
- Clean gutters thoroughly in late fall after leaf drop and in spring after seed and pollen season.
- Check for sagging sections — gutters should slope approximately 1/4 inch per 10 feet toward downspouts.
- Inspect gutter seams and end caps for separation or rust. Re-seal with gutter sealant.
- Ensure downspouts extend at least 6 feet from the foundation. Splash blocks or underground extensions help direct water away from the structure.
- Check that gutter hangers are secure and spaced no more than 24–36 inches apart. Overloaded hangers are a common cause of gutter failure during heavy rain events.
- Look for “tiger striping” on gutter exteriors — vertical staining lines that indicate overflow, often caused by insufficient gutter capacity or blockage.
In 2026, micro-mesh gutter guards have become increasingly popular and effective, dramatically reducing maintenance frequency without eliminating it entirely. Quality micro-mesh systems from brands like LeafFilter and HomeCraft average $15–$30 per linear foot installed. They’re worth considering if your property is surrounded by deciduous trees.
Climate-Specific Considerations
A one-size-fits-all checklist doesn’t fully account for regional realities. Here’s a targeted breakdown:
Cold Climates (Zones 5–7: Upper Midwest, New England, Mountain States)
- Inspect for ice dam damage every spring. Look for lifted or dislodged shingles at the eave line.
- Verify ice and water shield coverage extends at least 24 inches past the interior wall line.
- Assess snow load capacity if you have a low-slope or flat roof section.
Hot and Humid Climates (Southeast, Gulf Coast, Florida)
- Annual algae and moss treatment is essential — humidity accelerates biological growth dramatically.
- Post-hurricane-season inspections (November–December) should be standard practice.
- Check attic ventilation more aggressively — sustained heat and humidity accelerate decking deterioration.
Dry and High-UV Climates (Southwest, California, Arizona)
- UV degradation is the primary enemy. Inspect tile or flat roof membrane for UV cracking and embrittlement.
- After monsoon or wildfire smoke season, check for debris accumulation in valleys and around penetrations.
- Foam roofs common in Arizona require recoating every 5–7 years — verify this is on schedule.
Professional vs. DIY: What You Can Handle
Not everything on this checklist requires a professional. Here’s the honest breakdown:
Confident DIY tasks:
- Visual ground-level and binocular inspection
- Gutter cleaning and minor re-sealing
- Attic interior inspection
- Clearing moss with appropriate cleaning solution
- Replacing a single damaged pipe boot collar (moderate skill level)
Hire a professional for:
- Walking the roof surface for detailed flashing assessment
- Any structural concerns (sagging decking, significant water damage)
- Chimney flashing re-setting or re-pointing
- Post-storm damage documentation for insurance claims
- Full roof replacement assessment
A professional roof inspection in 2026 costs between $200 and $450 on average. Many reputable roofing contractors offer free inspections with the understanding you’re a potential future customer — but be cautious of high-pressure sales tactics following “free” inspections after storm events.
Cost Comparison: Maintenance vs. Neglect
The financial case for proactive maintenance is overwhelming. Here’s a comparative table of common issues caught early versus late:
| Issue | Caught Early (Annual Inspection) | Caught Late (After Failure) | Potential Savings |
|---|---|---|---|
| Cracked pipe boot/flashing seal | $75–$150 repair | $1,500–$4,000 (deck + interior) | Up to $3,850 |
| Minor missing shingles (1–3) | $150–$300 patch | $2,000–$6,000 (deck rot + interior) | Up to $5,700 |
| Blocked gutters | $100–$250 cleaning | $800–$3,000 (fascia rot, foundation) | Up to $2,750 |
| Ventilation blockage | $0–$100 DIY correction | $3,000–$12,000 (mold remediation) | Up to $11,900 |
| Algae/moss growth | $200–$500 treatment | $5,000–$15,000 (premature replacement) | Up to $14,500 |
Annual Maintenance Cost vs. Neglect — Visual Breakdown
The following chart compares average cumulative costs over a 10-year period for homeowners who maintained their roofs annually versus those who didn’t:
10-Year Cost Comparison (Average U.S. Homeowner, 2026)
Data based on NRCA 2025 homeowner cost surveys and contractor industry averages for 2026.
Frequently Asked Questions
How often should I have my roof professionally inspected, and is it really necessary every year?
Yes, annual inspections are genuinely worthwhile. The NRCA recommends professional inspections at least once per year, ideally in spring or fall. Even if your roof appears fine from the ground, subtle issues like cracked flashing, granule loss, or early-stage algae growth require a trained eye to detect. Given that a professional inspection costs $200–$400 while a missed leak can cost thousands, the math strongly favors the annual investment. Homes in high-storm or high-UV environments should consider biannual inspections.
What are the most common signs that my roof needs immediate attention rather than just scheduled maintenance?
Several red flags indicate you need urgent professional evaluation rather than waiting for your next annual cycle: water stains appearing or expanding on your interior ceilings, visible sagging anywhere along the roofline, granules completely stripped from shingles (leaving bare mat visible), daylight visible through the attic decking, or any evidence of active mold growth in the attic. Additionally, if you’ve recently experienced hail larger than 1 inch in diameter or sustained winds above 60 mph, schedule an inspection within 30 days regardless of your regular maintenance schedule — many insurance claims have strict reporting windows.
Can I perform all roof maintenance tasks myself, or should I always hire a professional for roof-related work?
A meaningful portion of the annual checklist is safely DIY-able — particularly interior attic inspections, gutter cleaning and minor resealing, ground-level and binocular visual assessments, and clearing organic growth with appropriate chemical treatments. However, physically walking the roof surface, repairing flashing, replacing multiple shingles, or evaluating structural concerns should involve a licensed roofing contractor. Working at height carries significant injury risk, and improper DIY repairs can actually void manufacturer warranties on newer roofing systems. A practical rule: inspect it yourself thoroughly, then hire out anything that requires you to be on the roof surface or involves structural components.
Your Roof Protection Roadmap: Next Steps
You’ve now got the complete annual roadmap. Let’s make it actionable. Here’s your immediate implementation plan:
- This week: Schedule your binocular exterior inspection and attic walk-through. Take dated photos of anything you flag — this creates a documented maintenance record invaluable for insurance purposes and resale.
- This month: Clean your gutters if it’s spring or fall, and verify downspout extensions are directing water properly. This single task prevents a disproportionate number of water damage claims.
- Within 60 days: Book a professional inspection if your roof is over 10 years old, if you’ve had significant weather events recently, or if you identified any interior staining or flashing concerns during your own check.
- Ongoing: Set annual calendar reminders for April and September. Pair your roof check with your smoke detector battery replacement and HVAC filter change to build a sustainable home maintenance rhythm.
- Long-term: Build a dedicated home maintenance fund. The standard recommendation is setting aside 1–2% of your home’s value annually for all maintenance, with roofing representing a significant portion of that budget over time.
In a broader context, proactive roof maintenance connects directly to 2026’s evolving homeownership landscape — tighter insurance underwriting, rising replacement material costs driven by supply chain dynamics, and growing emphasis on home energy efficiency (a well-maintained, properly ventilated roof directly impacts your heating and cooling costs). Homeowners who treat their roofs as a living system requiring annual attention are not just protecting a structure — they’re protecting their financial resilience.
Here’s the question worth sitting with: What would it cost you — financially and emotionally — if your roof failed catastrophically next winter because you skipped this year’s inspection? The checklist above takes a weekend afternoon. The consequences of skipping it can take years to fully resolve. Your roof has been protecting you every day. Return the favor once a year.