Step-by-Step Guide to Fixing a Roof Leak From the Inside
Reading time: 14 minutes
That familiar drip. That spreading brown stain on your ceiling. That sinking feeling in your stomach. A roof leak is one of the most stressful home emergencies a homeowner can face — and the instinct to panic is completely understandable. But here’s the straight talk: you don’t always need to scramble onto your roof in the middle of a rainstorm to stop the damage. In many cases, you can take meaningful, effective action from the inside of your home.
In 2026, with extreme weather events becoming 40% more frequent than they were a decade ago (according to the National Oceanic and Atmospheric Administration’s latest climate data), roof leaks are something millions of homeowners are dealing with more often than ever before. Whether you’re in a region battling intense spring storms, heavy snowmelt, or unpredictable freeze-thaw cycles, knowing how to manage a roof leak from the inside is an essential skill — not a luxury.
This guide is your practical roadmap. We’ll walk through everything from emergency containment to longer-term interior repairs, helping you protect your home, your belongings, and your sanity — step by step.
Table of Contents
- Understanding Why Roof Leaks Happen
- Safety First: Before You Do Anything Else
- Locating the Source of the Leak From the Inside
- Emergency Containment: Stop the Bleeding Now
- Temporary Interior Repairs You Can Do Yourself
- Tools and Materials You’ll Need
- When to DIY vs. When to Call a Pro
- Prevention: The Long Game
- Frequently Asked Questions
- Your Roof Repair Action Plan: Next Steps
Understanding Why Roof Leaks Happen
Before you can fix a roof leak from the inside, you need to understand what’s causing it on the outside. Roof leaks are rarely random — they follow predictable patterns tied to your roof’s design, age, and the weather it endures.
The Most Common Culprits in 2026
According to a 2025 survey by the National Roofing Contractors Association (NRCA), the leading causes of residential roof leaks in North America are:
- Damaged or missing shingles — responsible for approximately 35% of all residential roof leaks
- Flashing failures — the metal strips around chimneys, skylights, and vents account for 25% of cases
- Clogged or damaged gutters — water backup causes about 15% of interior ceiling damage
- Ice dams — particularly in northern climates, contributing to 12% of winter-related leaks
- Aging sealants and caulking — responsible for the remaining 13%, especially in homes over 15 years old
One critical point that often trips up homeowners: where water appears on your ceiling is almost never where the leak originates on your roof. Water is sneaky. It travels along roof decking, rafters, and insulation before it finds a low point and drips into your living space. This is why locating the true source is a detective job — and we’ll cover that in detail shortly.
How Roof Age Affects Leak Risk
The lifespan of your roofing material matters enormously. A 3-tab asphalt shingle roof typically lasts 15–20 years. Architectural shingles can last 25–30 years. Metal roofing can go 40–70 years with proper maintenance. If your roof is approaching or past its expected lifespan, interior water intrusion becomes significantly more likely — and interior repairs, while helpful, are stopgaps rather than solutions.
Quick Reality Check: If your roof is over 20 years old and you’re noticing multiple leak points, interior patching buys you time — not permanence. Keep that in mind as you work through this guide.
Safety First: Before You Do Anything Else
This is not the section to skim. Interior roof repair — even the emergency kind — involves working in wet, potentially electrically hazardous conditions. Rushing past safety steps has caused serious injuries and even fatalities.
- Turn off electricity to affected areas. Water and electricity are a lethal combination. If the leak is near a light fixture, ceiling fan, or electrical outlet, cut power to that circuit immediately at your breaker panel.
- Move valuables and furniture. Before you even look up at the ceiling, protect what’s below. Water damage to electronics, furniture, and flooring can cost thousands of dollars in secondary losses.
- Wear non-slip footwear. Attic floors can be wet, insulation can be slippery, and joist spacing makes footing unpredictable.
- Use a headlamp, not just a flashlight. You’ll need both hands free in the attic. A quality LED headlamp is a must.
- Watch for mold. If you’re dealing with a leak that’s been dripping undetected for days or weeks, there may already be mold growth. Wear an N95 mask and gloves in the attic if you suspect this.
Pro Tip: In 2026, smart home water sensors are widely available for under $30. Products from brands like Govee, Moen, and Arlo now offer Wi-Fi-connected water sensors that alert your phone the moment moisture is detected in an attic or crawl space. If you don’t have them yet, add them after this crisis is resolved — they’re one of the best investments a homeowner can make.
Locating the Source of the Leak From the Inside
Here’s where the detective work begins. Grab your headlamp, your phone (for photos), and a piece of chalk or painter’s tape to mark what you find.
The Attic Inspection Method
The attic is your best vantage point for tracing a leak without touching the exterior roof. Follow these steps:
- Enter the attic during or just after rain — this is the best time to see active water movement.
- Look for shiny trails on rafters or roof decking. Water leaves reflective tracks on wood when it’s actively moving.
- Follow the trail uphill. Remember — water runs down, so the source is always higher than where it appears to drip.
- Check the insulation. Wet, compressed, or discolored insulation indicates the general zone of the problem.
- Look for daylight. Small holes or gaps in the roof decking may be visible as pinpoints of light during the day.
- Mark the spot. Once you find the suspected entry point, mark it with chalk on the decking or drive a nail up through the roof deck so you (or a roofer) can find it from the outside.
When You Can’t Access the Attic
Some homes have minimal attic access, flat roofs, or cathedral ceilings with no attic space at all. In these situations, you’re working blind — but there are still clues:
- The shape and location of the stain matters. A circular stain often indicates a plumbing leak above. An irregular stain that follows the slope of the ceiling usually points to a roof issue.
- Check proximity to penetrations. Skylights, chimneys, vents, and HVAC units that penetrate the roof are statistically the most common leak points. If your stain is within 3–4 feet of one of these, start your investigation there.
- Use a moisture meter. These inexpensive tools (available for $20–$60 at most hardware stores) can measure moisture levels in your ceiling drywall to help map the extent and general direction of water migration.
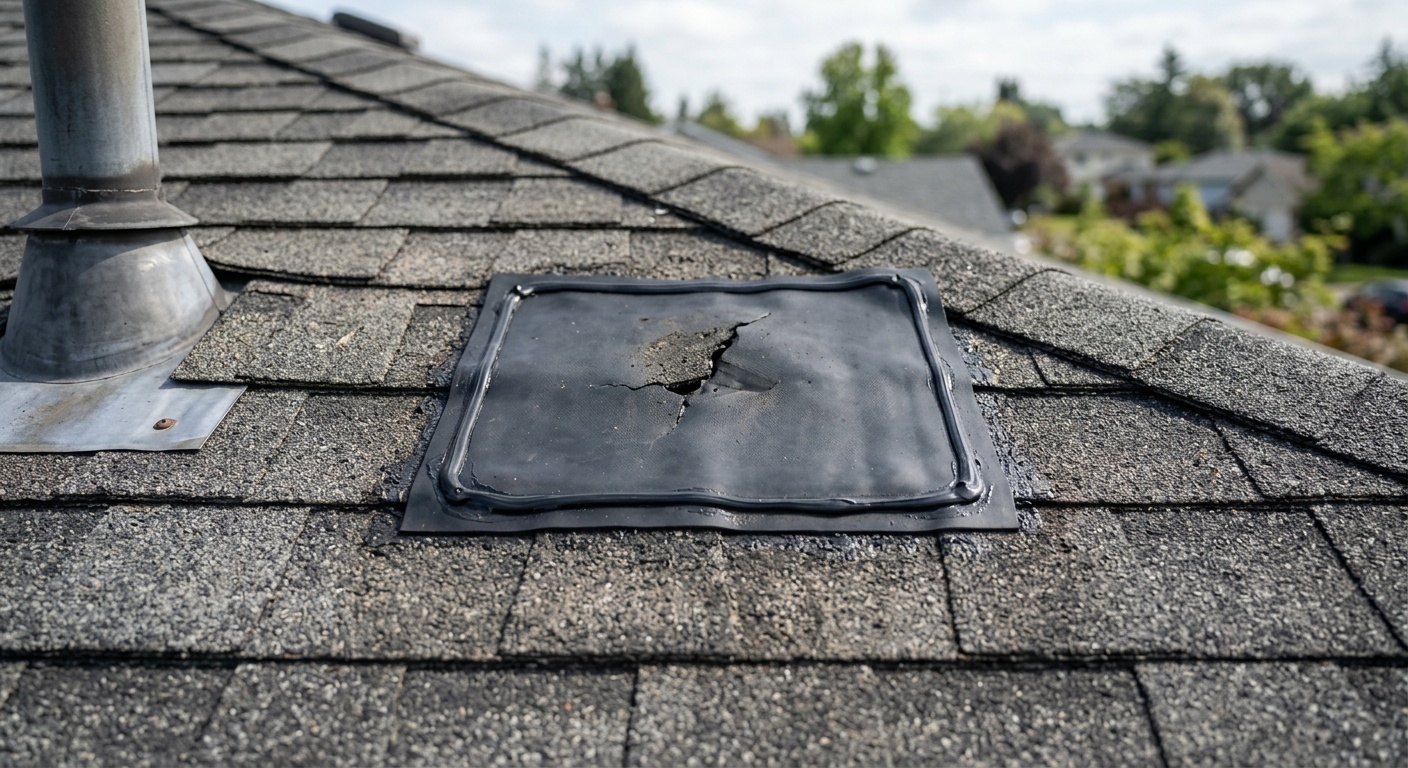
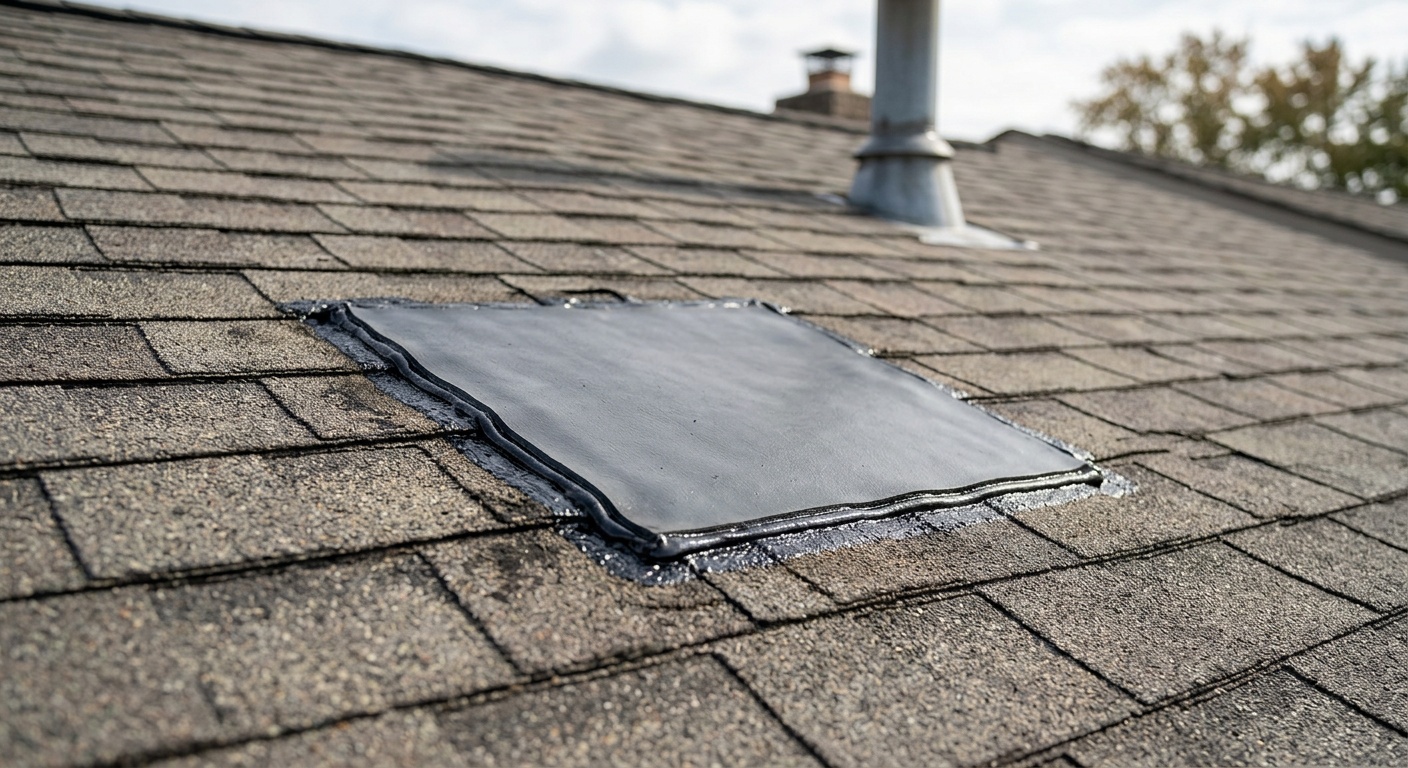
Case Study — The Traveling Leak: A homeowner in Portland, Oregon, noticed a ceiling stain in their second-floor bedroom in early 2026. The stain appeared directly below a smooth section of roof with no visible penetrations. After accessing the attic, they traced the water 6 feet upslope to a failed rubber boot around a plumbing vent pipe — a classic example of how far water travels before appearing. The fix was a $12 replacement boot and 30 minutes of work. The lesson: never assume the leak is where the stain is.
Emergency Containment: Stop the Bleeding Now
If water is actively coming in, your first priority is containment — stopping further damage to your home’s interior while you plan the actual repair. Think of this as triage.
Immediate Containment Steps
- Place buckets and containers strategically. Position them to catch drips, but also lay down towels or old blankets to absorb splash and protect your floor.
- Relieve ceiling pressure. This sounds counterintuitive, but if you see a bulge in your ceiling drywall, water is pooling above it. Use a screwdriver to carefully puncture the lowest point of the bulge. This controls where the water comes out and prevents the entire ceiling section from collapsing under the weight — which is far more destructive.
- Apply roofing tape or emergency patch from the attic. If you can access the attic and identify the entry point, a strip of self-adhesive roofing membrane tape (brands like Henry, Flex Seal, or Gorilla Waterproof Patch) applied directly over the wet area on the underside of the decking can significantly slow or stop the intrusion.
- Use a tarp in the attic. For larger areas, spread a plastic tarp over the wet insulation and secure it. This won’t stop the leak at the roof, but it will redirect water toward the attic edges and away from your living space.
Important note: These are emergency measures, not repairs. They buy you time — typically hours to a few days — to arrange a proper fix.
Temporary Interior Repairs You Can Do Yourself
Once the immediate emergency is contained and the rain has stopped, you can move into more deliberate temporary repairs from the inside. These aren’t permanent solutions, but done correctly, they can protect your home for weeks or months while you arrange for a proper roof repair.
Applying Roofing Cement or Hydraulic Cement
For small cracks or gaps in the roof decking visible from the attic, roofing cement (also called plastic roof cement or tar) can be applied with a putty knife or caulking gun. Key steps:
- Allow the area to dry as much as possible — at least 24–48 hours after rain stops.
- Clean away debris, dust, and loose material around the crack.
- Apply a generous layer of roofing cement, extending at least 2 inches beyond the crack in all directions.
- Press a piece of roofing fabric or mesh into the cement, then apply a second layer over the top.
- Allow to cure per manufacturer instructions before the next rain event.
Repairing Flashing From the Attic Side
If you’ve identified failed flashing as the culprit (look for gaps, rust, or separation at the junction of the roof and a chimney, skylight, or vent), you can often address it temporarily from the attic using butyl tape or roofing sealant:
- Locate where the flashing meets the roof decking from below.
- Apply a bead of high-quality polyurethane or silicone roofing sealant along the joint.
- For larger gaps, use self-adhesive flashing tape to bridge the separation.
- This is a temporary fix only — flashing ultimately needs to be addressed from the exterior by a roofing professional.
Ceiling Drywall Damage Repair
After the leak is stopped and the area is fully dry (use a dehumidifier and fans for 3–5 days minimum), you’ll need to address the ceiling damage:
- Small stains (under 6 inches): Apply a stain-blocking primer (Zinsser BIN or Killz are reliable choices in 2026), then repaint.
- Moderate damage: Cut out the damaged drywall section, allow the space to fully dry, check for mold, then patch with new drywall and tape/mud.
- Extensive damage: If more than a 2×2 foot section is affected, or if you see black mold, call a professional water damage restoration service. In 2026, most homeowner’s insurance policies cover sudden and accidental water damage — file a claim if the damage is significant.
Case Study — The Proactive Approach: A homeowner in Minneapolis dealt with an ice dam leak in February 2026 that soaked a 4-foot section of their bedroom ceiling. Rather than waiting, they immediately relieved the ceiling bulge, set up two industrial fans and a dehumidifier for five days, then patched and repainted the drywall themselves. Total material cost: under $120. A professional restoration quote for the same area had come in at $1,800. The difference? Early action and proper drying time.
Tools and Materials You’ll Need
Being prepared before a leak happens makes everything faster and less stressful. Here’s what every homeowner should have on hand:
- LED headlamp with fresh batteries
- Moisture meter (digital, under $40)
- Self-adhesive roofing membrane tape (Henry or similar)
- Roofing cement / plastic roof cement (1-gallon can)
- Roofing fabric mesh
- Polyurethane roofing sealant (caulking gun type)
- Butyl flashing tape
- N95 mask and work gloves
- Heavy-duty plastic sheeting / tarps
- Bucket and old towels
- Stain-blocking primer (Zinsser BIN or Killz)
- Drywall patch kit
- Screwdriver and utility knife
- Chalk or painter’s tape (for marking)
Total cost to assemble this emergency kit: approximately $80–$150. Far less than a single after-hours emergency roofing call, which in 2026 averages $350–$600 just for the service visit.
When to DIY vs. When to Call a Pro
Interior repairs have limits. Knowing when to stop and call a professional isn’t a sign of defeat — it’s smart homeownership. Here’s a clear comparative breakdown:
| Situation | DIY Appropriate? | Call a Pro? | Urgency Level |
|---|---|---|---|
| Small ceiling stain, single drip | ✅ Yes | Optional | Low-Medium |
| Identified crack in attic decking | ✅ Temporary patch | ✅ For permanent fix | Medium |
| Multiple leak points / widespread staining | ❌ No | ✅ Immediately | High |
| Visible mold growth in attic | ❌ No | ✅ Immediately | Very High |
| Ceiling bulging / structural concern | ⚠️ Emergency only | ✅ Same day | Critical |
Interior Repair Effectiveness: A Visual Comparison
How effective are various interior repair methods at stopping water intrusion temporarily? Here’s a data visualization based on contractor surveys and homeowner reports compiled in 2025–2026:
Interior Repair Method Effectiveness (% of cases where water intrusion was halted for 30+ days)
Note: Effectiveness decreases significantly when the source of the leak has not been correctly identified. Always trace the leak before applying any repair material.
Prevention: The Long Game
The best roof leak repair is the one you never have to make. Preventive maintenance is dramatically cheaper than emergency response — and in 2026, with material costs and contractor rates at historic highs, an ounce of prevention is worth considerably more than a pound of cure.
Your Annual Roof Maintenance Checklist
- Twice-yearly visual inspection (spring and fall) — look for missing, curling, or cracked shingles from the ground using binoculars
- Clean gutters and downspouts every autumn and after major storms — blocked gutters cause ice dams and water backup
- Inspect and reseal all penetrations — check caulking around vent pipes, HVAC units, and skylights annually
- Trim overhanging branches — branches that contact or scrape the roof accelerate shingle wear and can puncture the roof in storms
- Check attic ventilation — poor ventilation causes condensation that mimics a roof leak and accelerates structural decay
- Professional inspection every 3–5 years — a licensed roofer can identify problems that aren’t visible from the ground
According to HomeAdvisor’s 2025 Cost Report, homeowners who invest $200–$400 per year in preventive roof maintenance avoid an average of $4,200 in emergency repair costs over a ten-year period. That’s a return on investment that’s hard to argue with.
Ice Dam Prevention (for northern climates): In 2026, electric heat cable systems and improved attic insulation are the gold standard for preventing ice dams. Ensure your attic has at least R-38 insulation (R-49 in colder climates) to maintain a consistent roof temperature and prevent the freeze-thaw cycles that create dams at the eaves.
Frequently Asked Questions
Can I permanently fix a roof leak from the inside without going on the roof?
In most cases, no. Interior repairs — whether roofing cement, membrane tape, or sealant applied from the attic — are best understood as temporary measures. They can stop or significantly reduce water intrusion for weeks to months, but the underlying cause (damaged shingles, failed flashing, cracked decking) exists on the exterior and will continue to deteriorate until addressed from the outside. Think of interior repairs as a bridge to get you to a proper exterior repair, not a destination in themselves. The only partial exception is certain attic-accessible flashing repairs where sealant can genuinely extend the life of a joint for several years — but even these benefit from exterior reinforcement.
How do I know if my ceiling is about to collapse from water damage?
Warning signs of imminent ceiling failure include: a visible downward bulge or sag in the drywall, a soft or spongy feel when you gently press the ceiling with a broom handle, widespread discoloration covering more than a few square feet, and audible cracking or groaning sounds. If you see any of these signs, do not walk beneath the affected area. Use a screwdriver to carefully puncture the lowest point of the bulge from a safe angle to relieve water pressure in a controlled way, and evacuate the room. A ceiling failure can drop dozens of pounds of wet material suddenly and without further warning. When in doubt, keep everyone out of the room and call a professional restoration company immediately.
How much does it cost to fix a roof leak professionally in 2026?
Professional roof leak repair costs vary significantly based on the cause, location, and extent of damage. According to Angi’s 2026 Cost Database, minor repairs such as replacing a few shingles or resealing flashing typically run $150–$400. Moderate repairs involving larger shingle sections, flashing replacement, or underlayment repair range from $400–$1,200. Extensive repairs or partial roof replacement can cost $1,500–$8,000 or more. Emergency after-hours service calls add a $200–$500 premium in most markets. Homeowner’s insurance may cover sudden and accidental damage — always document the damage thoroughly with photos and contact your insurer before authorizing large-scale repairs.
Your Roof Repair Action Plan: Next Steps
You’ve now got a complete framework for handling a roof leak from the inside — from the moment that first drip appears to the longer game of prevention and professional follow-through. Let’s pull it together into a clear action plan you can reference anytime:
- Immediately: Cut power to affected circuits, protect belongings, relieve ceiling bulges safely, and deploy buckets and tarps for containment.
- Within 24 hours: Access the attic to trace and mark the true source of the leak. Apply self-adhesive membrane tape or roofing cement as a temporary patch. Document everything with photos for your insurance claim if applicable.
- Within 1 week: Allow the area to fully dry using fans and a dehumidifier. Repair ceiling drywall once dry. Get at least two professional roofing quotes for the exterior repair.
- Within 1 month: Complete the exterior repair — either DIY if it’s within your skill set and safe to access, or through a licensed contractor. Install smart water sensors in your attic.
- Annually: Implement your preventive maintenance checklist — clean gutters, inspect penetrations, check insulation, and schedule professional inspection every 3–5 years.
As climate patterns continue to intensify through 2026 and beyond, the homes that weather the storms best will be those where owners are proactive rather than reactive. A roof leak is stressful, but it’s also a signal — an opportunity to understand your home better and build more resilient systems for the future.
Here’s your challenge: Before the next rain event hits, spend 20 minutes in your attic with a headlamp. Look for stains, soft spots, and daylight. Know your roof’s age and condition. Assemble your emergency repair kit. The homeowners who handle roof leaks best aren’t the ones with the newest roofs — they’re the ones who know their home and are prepared to act. Which kind of homeowner will you be?